|
|
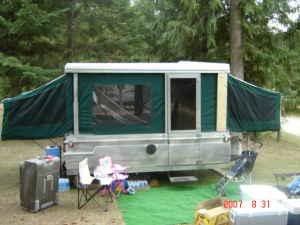
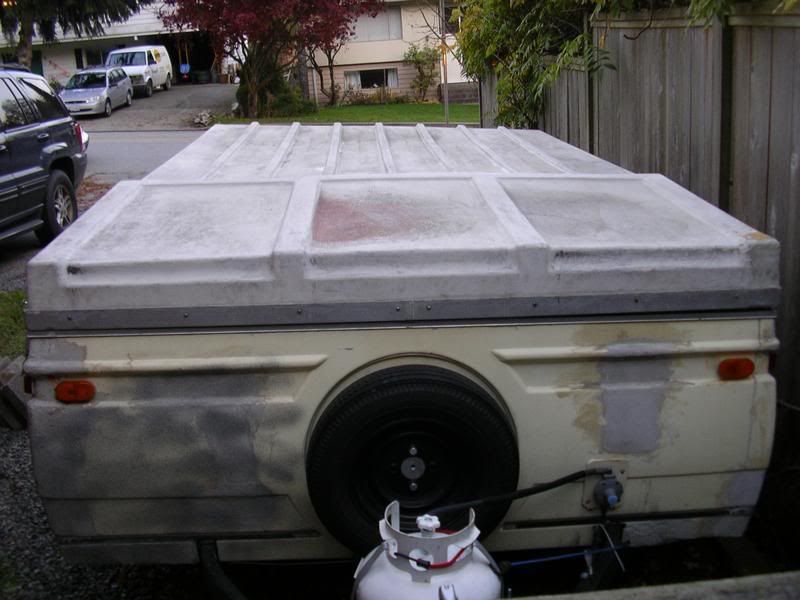
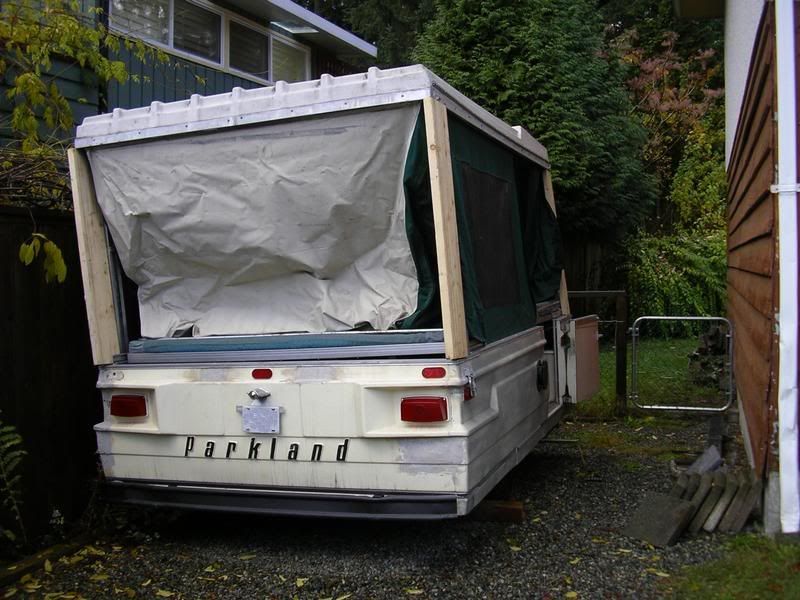
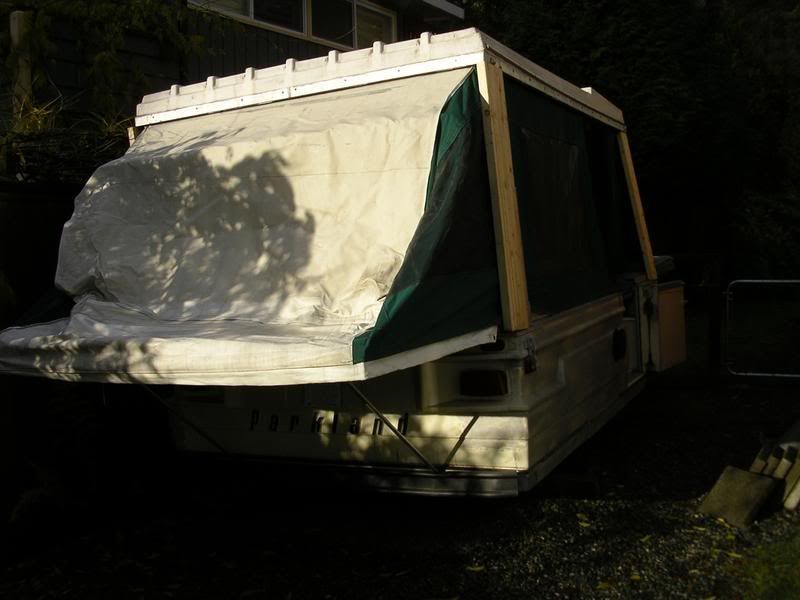
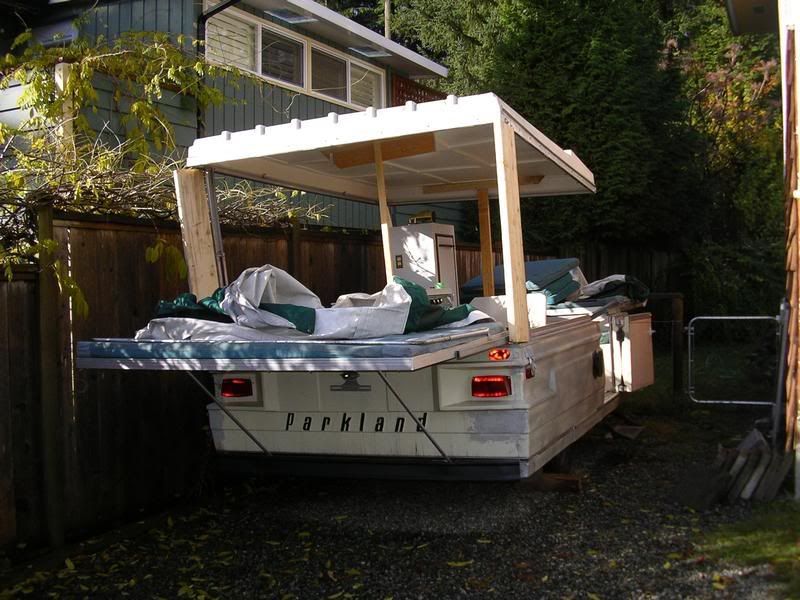
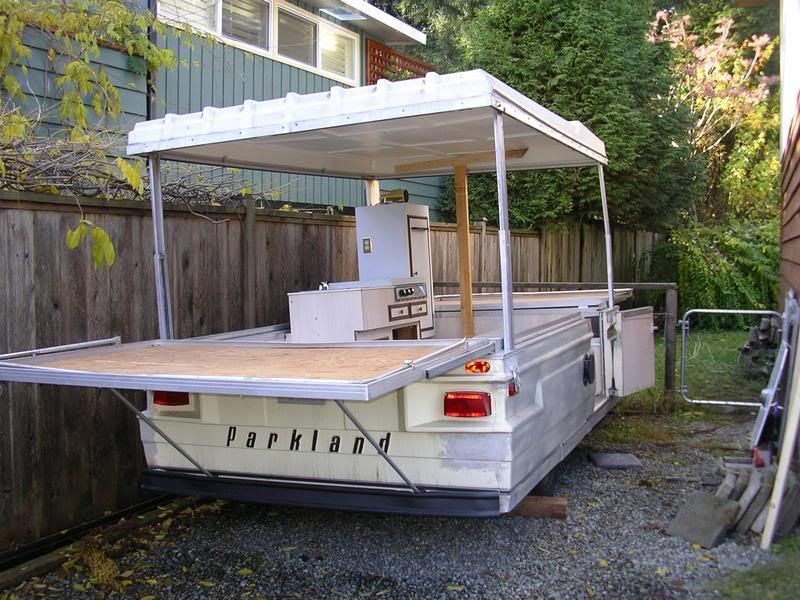
As the "before" pictures indicate, this baby needs some TLC, but having paid what what we did for her, we knew that, and having the whole winter to play ( yeah right... we'll see !!!) we have plans, plans to use this mobile, camping, holiday home... Just bring on the summer, we'll be ready.
This is what she looked like in the craigslist advert. I thought an aluminium shell, and pretty good condition canvas. Well, I was wrong about the shell. Turns out it's fiberglass in need of some attention, real bad!
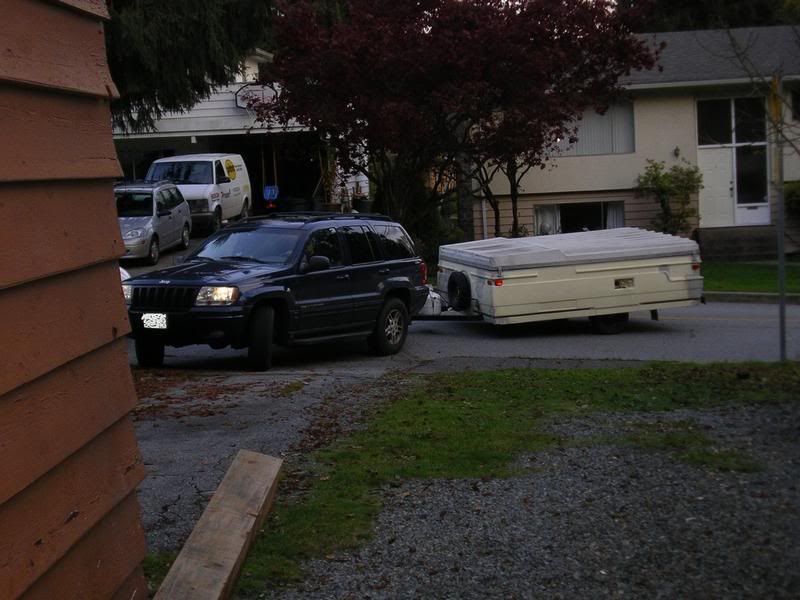
Without a tow hitch on my car, it took about a week to find a solution, and finally, after some negotiations and borrowings from neighbors and friends, our daughter's boyfriend towed the trailer home for us.

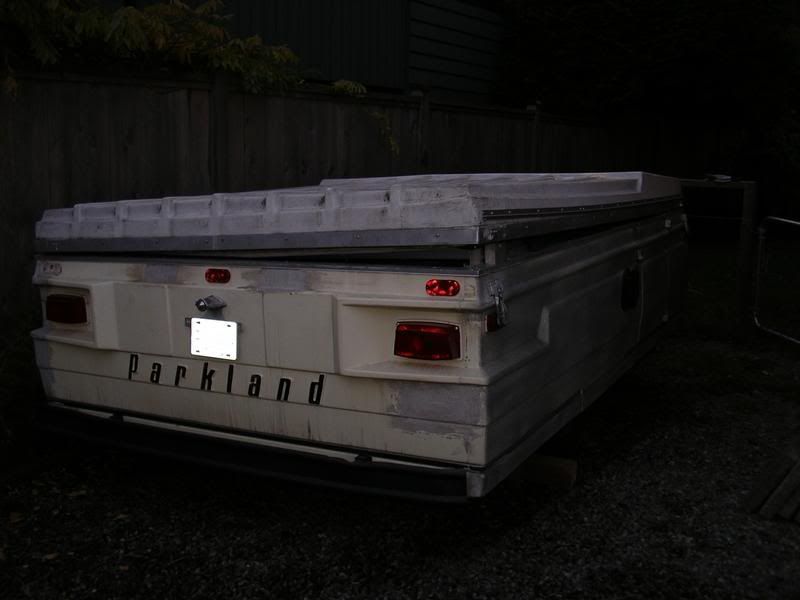
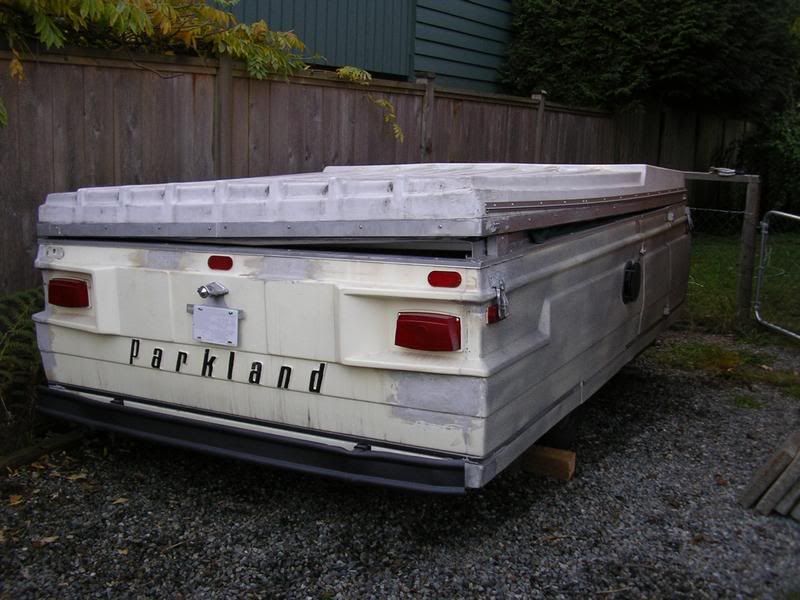


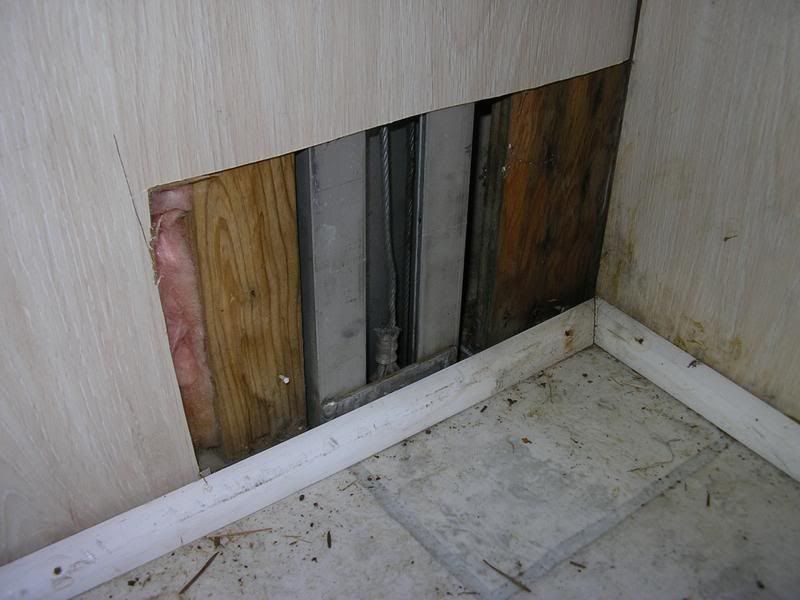
Haven't looked inside yet, but these are a couple of the glaring issues which need priority attention.
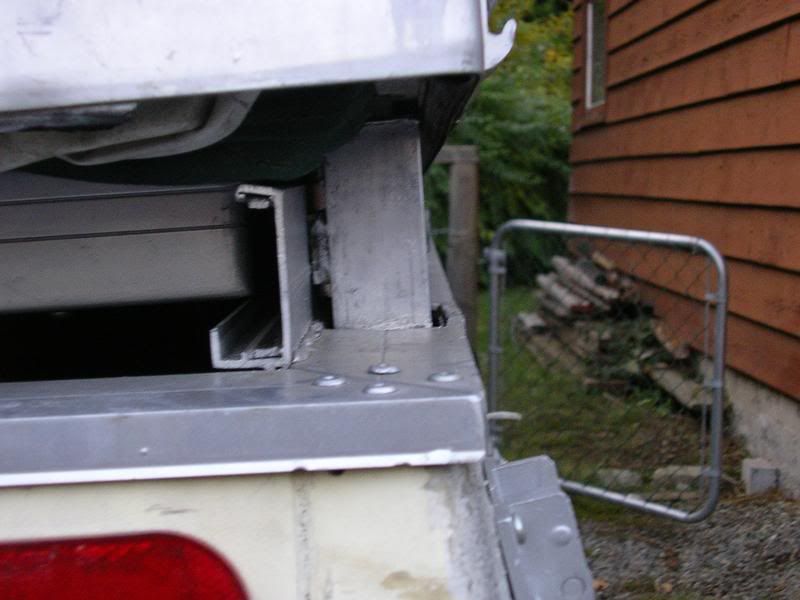

Left: The jack system needs major attention. Only one lifts, but that is the only one which doesn't retract completely. This has to be fixed before the rainy season starts in earnest. The cables have jumped off pulleys in the channels. The lifting system is top priority because every time we need to work on the trailer, the lid needs to have its ups and downs. Don't want to go through the next sequence of pictures whenever I get bitten by the let's-fix-'er-up bug.
Centre: On the way home, we had to make numerous stops to re-close the door. Luckily we had some wire with us so "lock" the door closed. The handle/lock needs replacement.
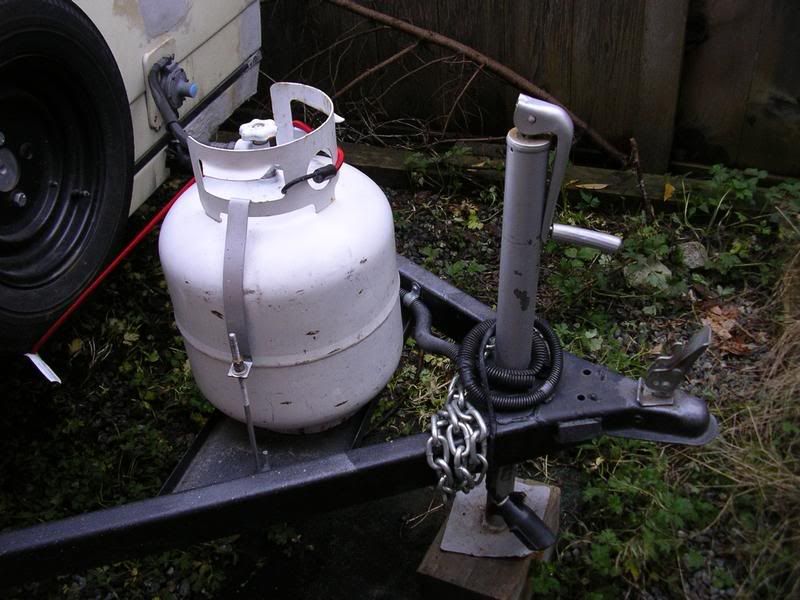
Right: Not really major, but the gas and electric systems need checking for safety. The gas pipe seems a tad short, which puts minor strain on the connections. The hookup gear is in good condition.
First Day on the job!
November 10, 2007

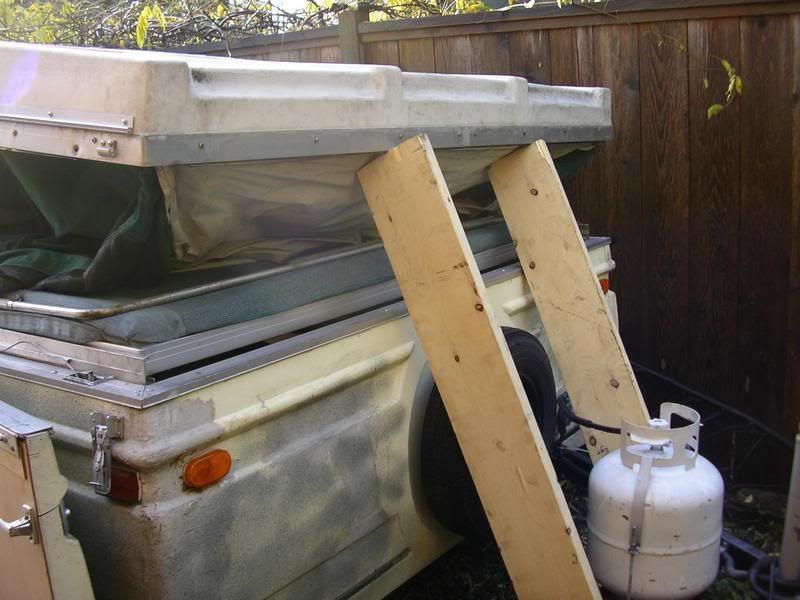
Getting the lid up, solo, proved quite a challenge, but with some sequential lifting, and a little help from the cable system,
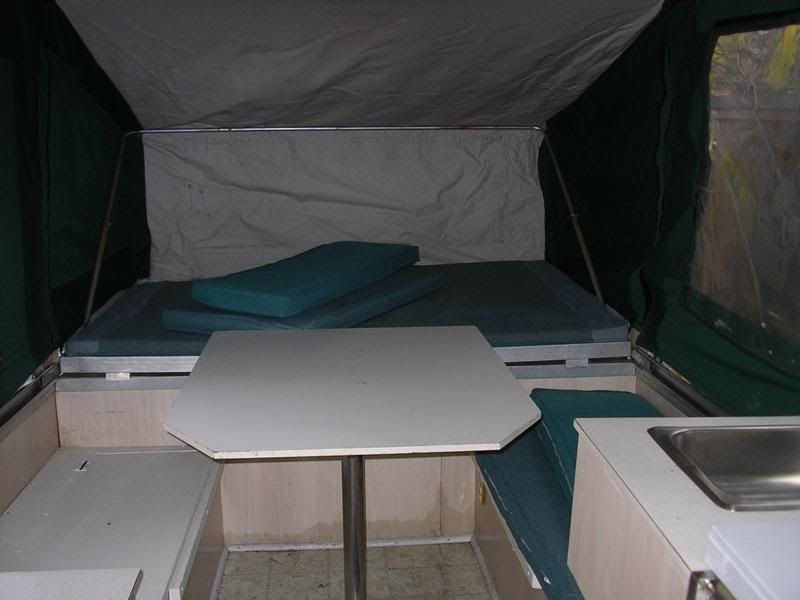
Inside is certainly "campable", but an upgrade is in order. Hence the addition of this project in

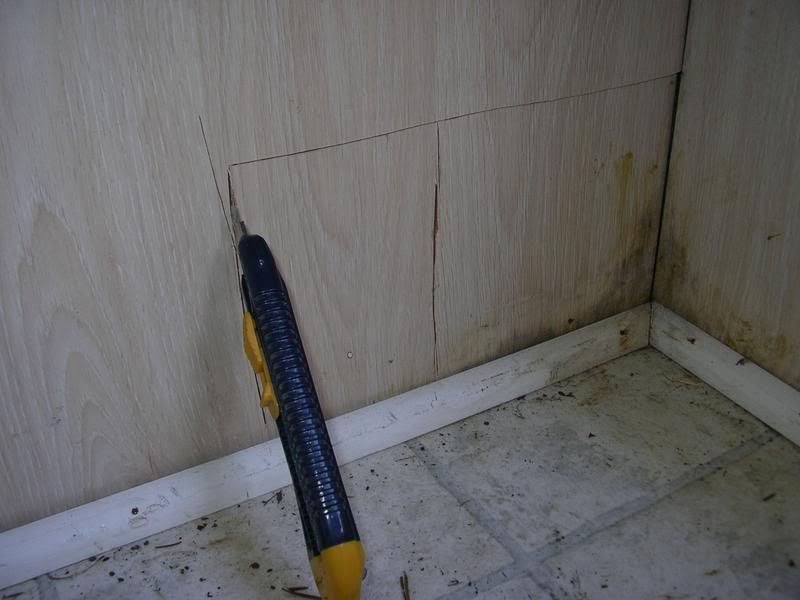
I thought to get the lid to close would be a good idea
(remember, back left didn't retract fully), so I had to cut into the paneling to
gain access. Wasn't too difficult, and also gave me insight as to the workings
of the pulley system, which led to my fixing 3 corners, still one to go!

Then folded all the furniture down and closed her up for another day.
Well, then came Winter, and snow and cold, so she stayed closed up a lot longer than planned...
tick tock, tick-tock...
Before long, summer was fast approaching, so camping was certainly on the cards. Of course, the first thing needing attention was the lift system. As can be seen, the cables were all loose and the whole system needed a spot of grease and oil.


The reason the one corner wasn't closing properly soon became apparent
This is what it should have looked like

and not as it was, like this... 

No wonder it didn't close!!!
I had to "manufacture" a repair. I cut and bent the angle iron, and a friend did the welding.


Random Camping Pictures Click Here
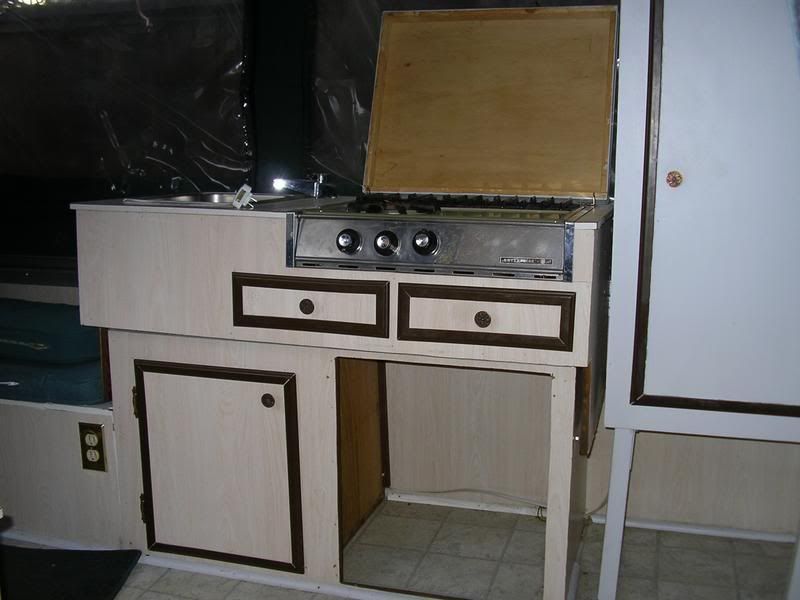
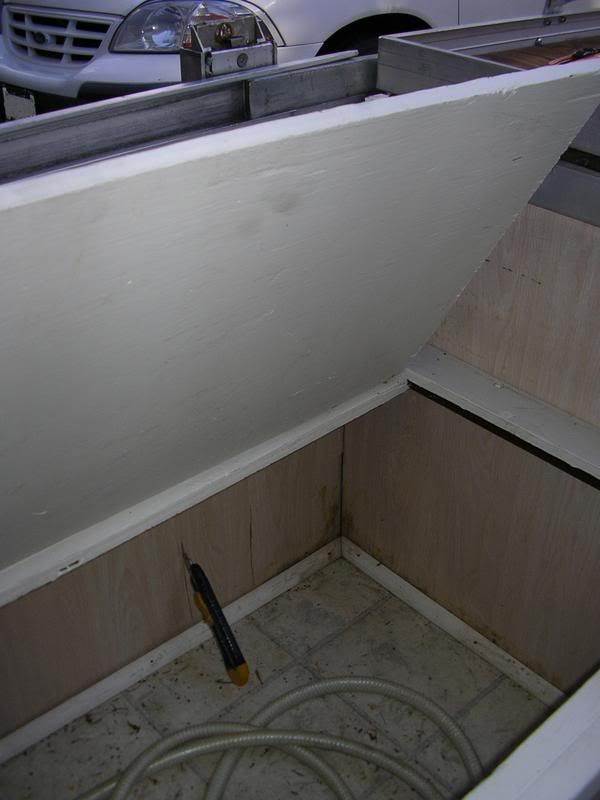
Time was of the essence, so I decided to tackle the worst first and move along, piece meal. Doing this, I could halt the operations any time and we could go camping at short notice. First off, was the furnace cupboard, and bench/bed. Once I got stripping, I began to wonder if this was all going to be worth while.


The spacer between the "skin" and the body was well rotted and needed replacement.
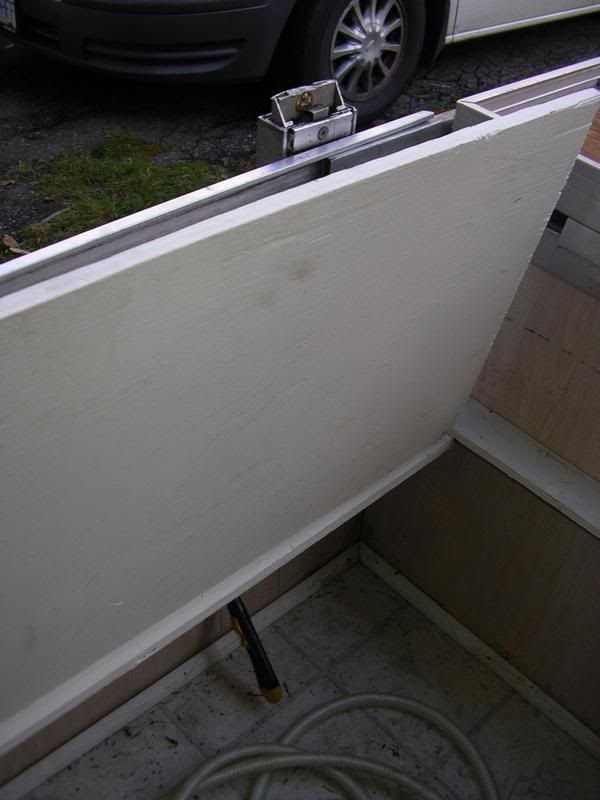
Fortunately I had some 5/8 Baltic Birch ply lying around.
 After reassembling, I started to replace the paneling.


Our little "Mobile Hotel" was starting to look like it could become a home away from home.
Before we'd have her out on the road, she certainly needed a makeover, so out came the sanding equipment and elbow grease.
The body work could sure use some major renovations, but given its age, a coat of paint covers a multitude of things. I just brushed the paint on, so it's about a 18 ft (6 m) finish, meaning it looks good from 18 ft, but please don't come any closer.


Before ....After
Before ....After


Then added some supports / runners under the bed boards, and some handles to make pulling them out a little easier. Checked all the aluminum slides and fittings to ensure we weren't going to land on the ground in the middle of nowhere, and she was declared "CAMPABLE". QC did however insist there is still a long way to go before it is finished.
We have been camping a number of times, including a 10 day holiday on the Sunshine coast, BC.
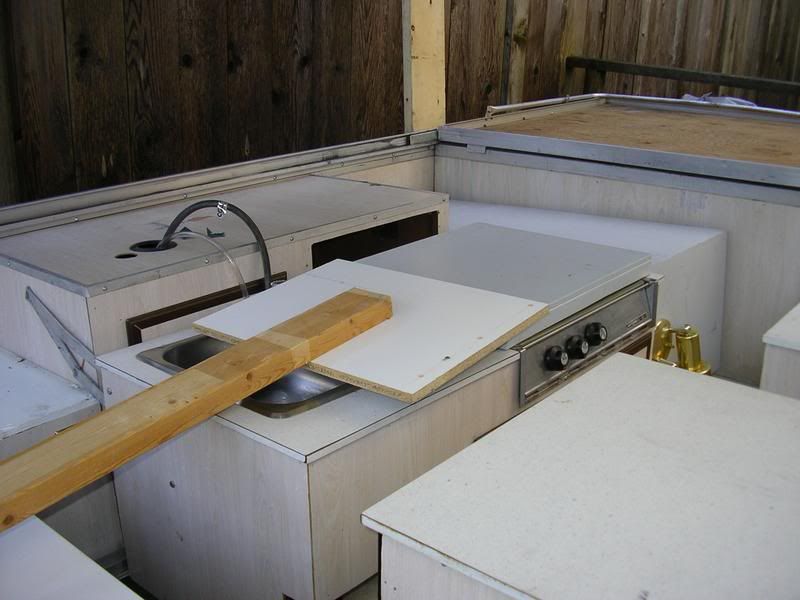
I still need to rebuild the kitchen unit, and some wardrobe / storage units, otherwise it really is comfortable and functional.
Random Camping Pictures Click Here